Tutorial: Back to School Color Blanks Figure
As of writing this, it is still technically summer, most students are already in school or in a mass exodus from their homes to go back to school. In light of the new school year the folks at RoseArt asked if I could come up with a back-to-school themed Color Blanks figure. I thought this would be a fun challenge as this would take me a bit out of my creative comfort zone. It definitely took a bit of brainstorming to come up with an idea that I felt encompassed the spirit of back-to-school.
Step 1: Select the Color Blanks figure
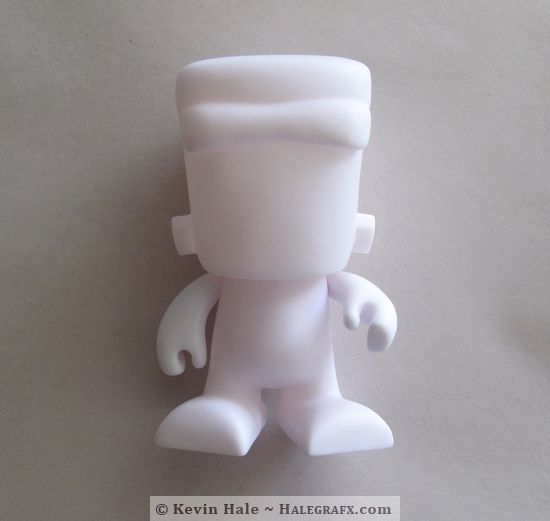
The first thing I did was get a general idea in my head of what I wanted to do the Color Blanks figure. Once inspiration struck I went and looked for a figure that best fit my idea. In this case I used a Halloween themed Color Blank that resembled Frankenstein.
Step 2: Create a sketch of your Color Blanks figure
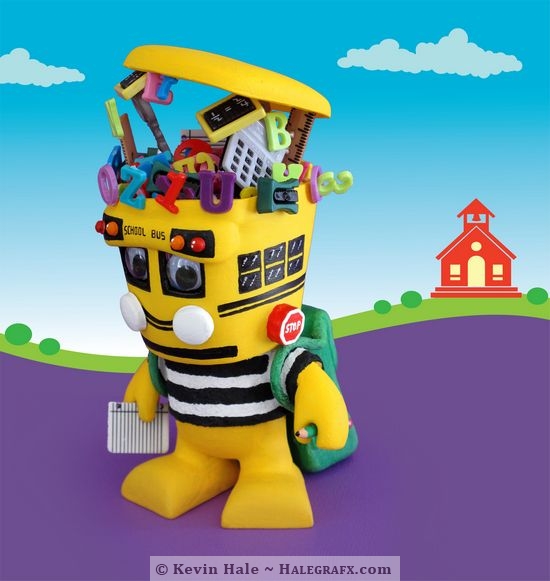
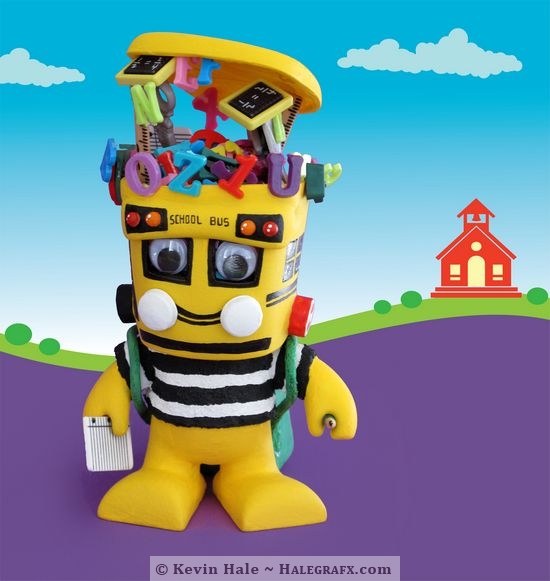
The next thing I needed to do was sketch the concept that I had in my head. The idea was to take a little character and turn it into a school bus. Popping out of the school bus / head of the figure were all kinds of school items. I also decided to give him a large backpack. I remember riding the bus when I was in school and it seemed like I was always carrying a backpack around with 30 pounds of books. I wanted to exaggerate this a bit with the idea of the huge backpack.
Step 3: Take apart the figure
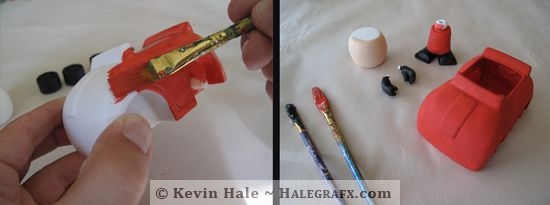
As with other Color Blanks figures I’ve done in the past, I disassembled and cut the pieces. I then took the pieces and sanded them down to make sure there were no rough edges and everything was relatively smooth.
Step 4: Paint base colors on the figure
From this point it was a process of painting base coats on the necessary pieces. I needed to paint most of the character yellow, much like a school bus, so it was important to get as much of it as possible coated and let it dry.
Step 5: Create a felt-acrylic paint T-shirt
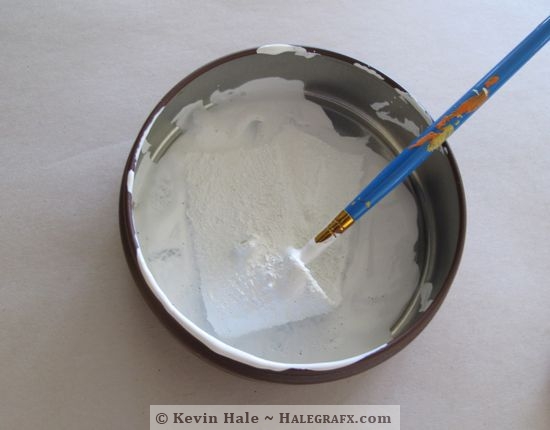
I wanted to make the character a T-shirt and rather than having to bake something directly on the character I went with a different technique to create one. I cut little pieces of felt and shaped them into a shirt. I dipped the pieces of felt into white acrylic paint and laid them onto areas of the figure almost in the same manner that you would with paper-mâché. After I had the coated felt positioned correctly, I reassembled the Color Blanks figure and let it dry.
Step 6: Select Eyes and Ink Details
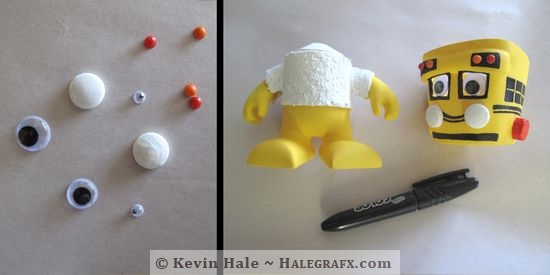
While the main figure was drying I selected various sizes of Wiggly eyes to be used for the character as well as some extra ones that would be painted to create the lights of the school bus. After these were dry I glued them to the figure and starting inking lines using the Color Blanks pens.
Step 7: Hot glue some school supplies to the figure
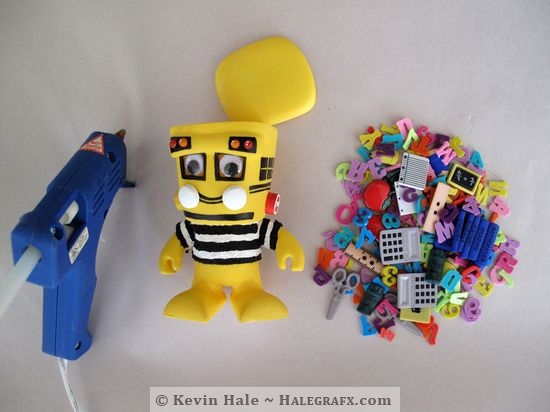
Next after some more touch up painting and assembly of the head to the body, I took a variety of small craft letters and school themed buttons and started assembly of them in and on the head.
Step 8: Make a backpack for the Color Blanks figure
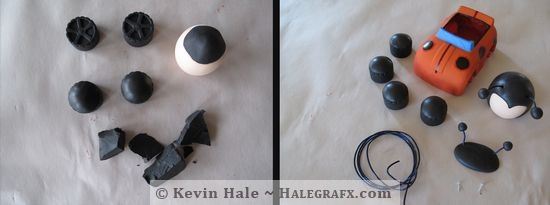
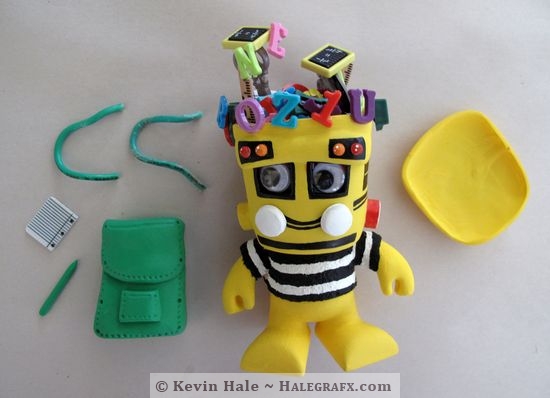
While some of the hot glue cooled I started to create a backpack and a pencil out of polymer clay. The straps of the backpack were actually made of some left over ground wire that I had. After baking the backpack I hot glued it along with the straps to the Color Blanks figure. I then did touch ups with paint.
Step 9: Final touchups and a Color Blanks photo shoot
After a couple more touchups, a photo shoot and some post work in Adobe Photoshop & Illustrator, here is the final back-to-school Color Blanks figure below.
